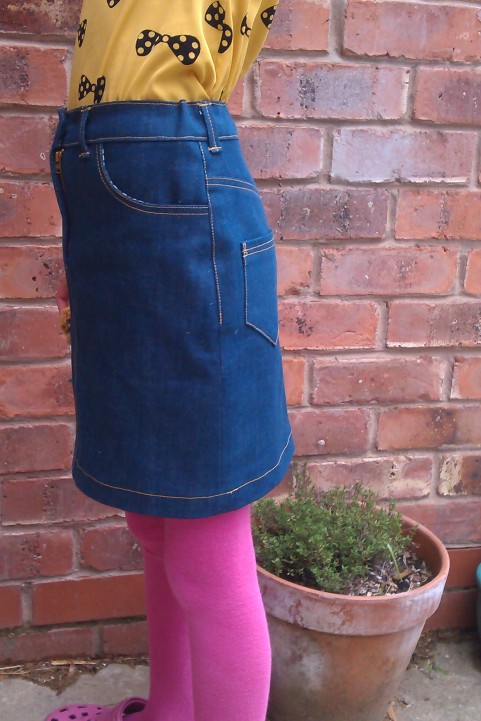
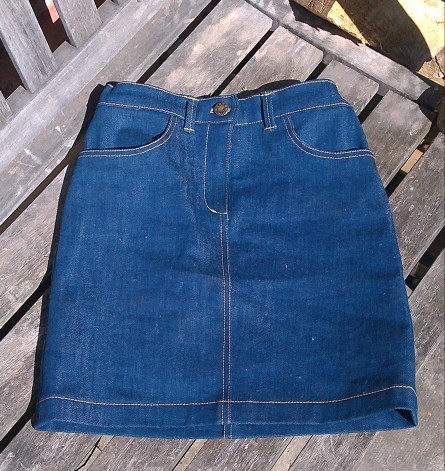
After finishing the jeans I went straight into another denim project. My 7 year old daughter wanted a new denim skirt to replace the A line skirt I made over a year ago. This time I wanted to do a more classic style of denim skirt, especially now I know how to insert a fly zipper….
The fabric was left over from making the first skirt and was originally from Ditto Fabrics. I think it was 97% cotton 3% lycra and a slightly heavier weight than I used in my jeans.
I started by drafting the basic skirt block from the Winifred Aldrich Metric Pattern cutting for children’s wear using her individual measurements.
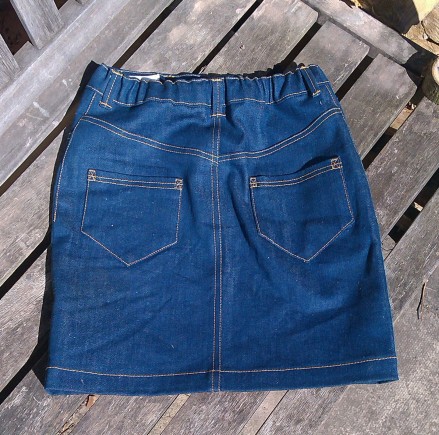
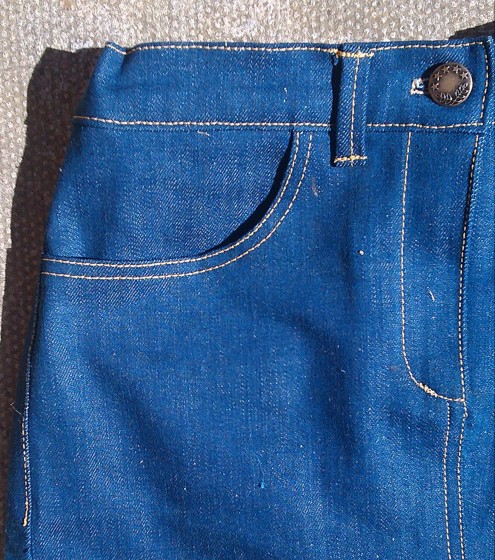
I drew on the style lines, yoke, pockets etc following what I had learnt from the Craftsy course. I took the size of back pockets from a pair of current pair of jeans.
I found topstitching this skirt more successful that the jeans. I think this was because instead of using Guttermann topstitch thread I used Guttermann extra strong and it seemed to give me less problems.
When I went to stock up on the topstitch thread I noticed the extra strong quality. It looks very similar in thickness. It comes in 100mt reels instead of 30mts and works out cheaper so I thought I’d give it a go. I didn’t have any issues with tension and threading the machine needle was easy, it doesn’t seem to untwist like the topstitch thread. Also because all was going so well, changing the thread to topstitch wasn’t a chore. In my opinion it give the same look as the regular topstitch thread so in future I think I will chose this quality.
The fly zipper worked out ok. I made the under flap wide enough and long enough to cover the entire zipper inside and I was able to bar tack at the bottom edge this time. I’m no master yet on inserting a fly and still found it a stressful evening of sewing. In fact I was so tense it made me feel sick by the time I’d finished – hobby sewing isn’t supposed to do that! But I know how to improve for the next fly zip, I’ll get it perfect one day!
As my daughter is still quite slight around the waist and hips I added buttonhole elastic into the back waistband. You can buy this in different widths from eBay or Amazon.
After sewing on the waistband I positioned the button holes for the elastic exits just to the front of each side seam. Then I sewed on a button just forward of the buttonhole. I completed the waistband then threaded the elastic through. I secured the elastic at the centre back with a line of vertical stitching which would be hidden by a belt loop.
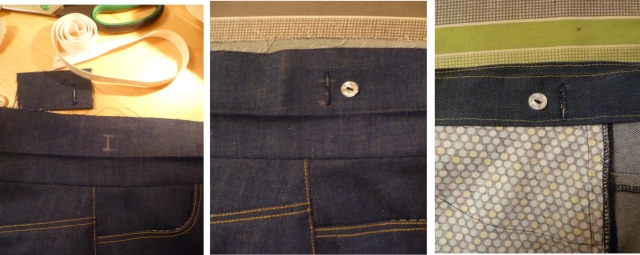
Adding the buttonhole and button for the elastic – remember sew the button on before finishing the waistband, it’s much easier.
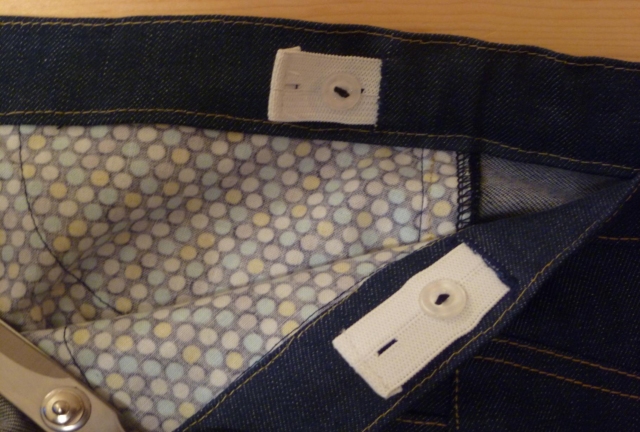
Thread the elastic through the waistband casing and neaten the ends of the elastic with a small hem.
I think the back pockets are a bit too low, I noticed this when sewing on but I had marked the position with the awl making holes so I couldn’t move up. There is also just enough stride room, in hindsight maybe I should have made slightly A line to allow for this.
Overall skirt is a great success and my daughter loves it and the old skirt has been sent to the charity shop.
